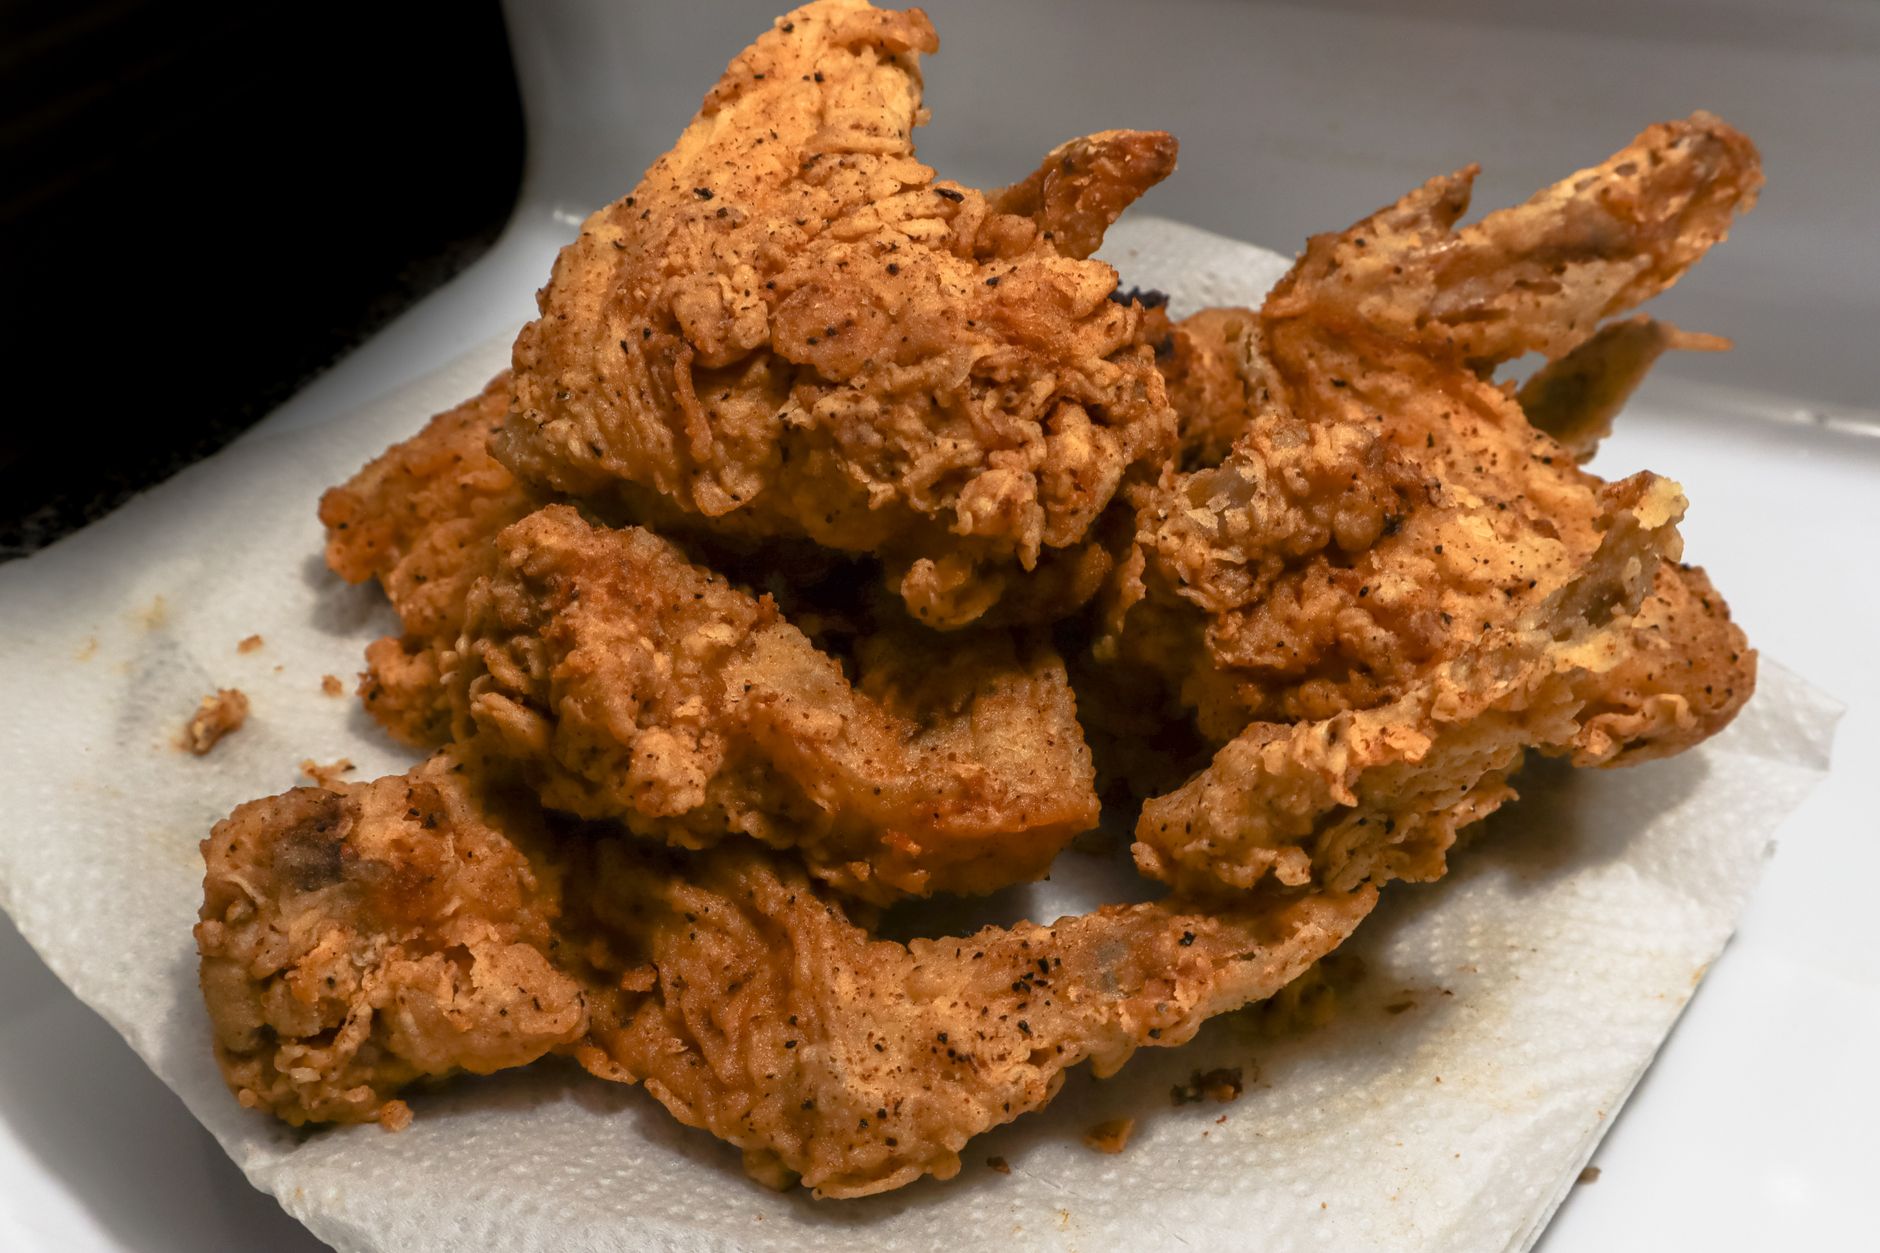
Making buttermilk fried chicken from scratch is easy! Brining the chicken with buttermilk ensures it stays juicy and tender, and letting the chicken rest in the seasoned flour creates a crispy coating that actually sticks to the meat.
Instructions
1
Marinate the chicken in buttermilk
2
Pat the chicken pieces with paper towels and place them in a large flat dish. Pour buttermilk over the chicken. Cover and refrigerate them for at least one hour or overnight. Editor's Tip: Don't let the chicken soak for longer than 24 hours. The acid in the buttermilk will turn the meat mushy!
3
Mix the seasoned flour
4
Combine the flour, salt, pepper, garlic powder, onion powder, paprika, sage, thyme and baking powder in a shallow dish. Editor's Tip: Plastic bags work wonders to reduce mess! Instead of using a dish, combine the ingredients in a large resealable plastic bag and shake to combine. Add the buttermilk-soaked chicken to the bag one piece at a time and shake the bag to coat.
5
Coat the chicken
6
Add the chicken pieces, one at a time, and turn to coat them in seasoned flour. Editor's Tip: To ensure a crispy coating that stays put after frying, allow any excess buttermilk to drip off before coating the chicken in the flour mixture. I like to let that buttermilk drip into the flour. Mixing a little buttermilk into the flour is the secret to creating those craggly bits we all love so much! When you add the chicken, press each piece firmly into the flour to ensure every inch is well-dredged.
7
Let it rest
8
Lay the coated pieces on waxed paper for 15 minutes to allow the coating to dry, which helps it cling to the chicken during frying. Editor's Tip: What's the secret to making a coating that actually sticks to fried chicken? Patience. Letting the chicken rest allows the moisture from the buttermilk to distribute evenly, helping the flour form a firm crust.
9
Deep-fry the chicken
10
In a Dutch oven or deep skillet, heat 1/2 inch of oil over medium heat to 350°F. Fry the chicken in batches, uncovered, turning occasionally, until the coating is dark golden brown and the meat is no longer pink, seven to eight minutes per side. Drain the chicken on paper towels. Editor's Tip: Only cooking two to three pieces at a time is the key to crispy fried chicken. If you add too many pieces at once, the temperature of the oil will drop quickly, making the coating soggy. After frying the first batch, wait until the oil temperature returns to 350° before adding the next batch.